
Navigate and Present Scenes in Your Apple Freeform Boards: A Step-by-Step Guide
Introduction
Apple’s Freeform app is a powerful tool for brainstorming, planning, and collaborating on infinite digital canvases. But as your boards grow with ideas, sticky notes, images, and diagrams, navigating and presenting specific "scenes" (sections of your board) can become challenging. In this guide, we’ll explore how to efficiently move through your Freeform boards and present your work like a pro.
Part 1: Navigating Scenes in Freeform
Whether you’re working on a complex project or a visual storyboard, these tips will help you stay organized and focused.
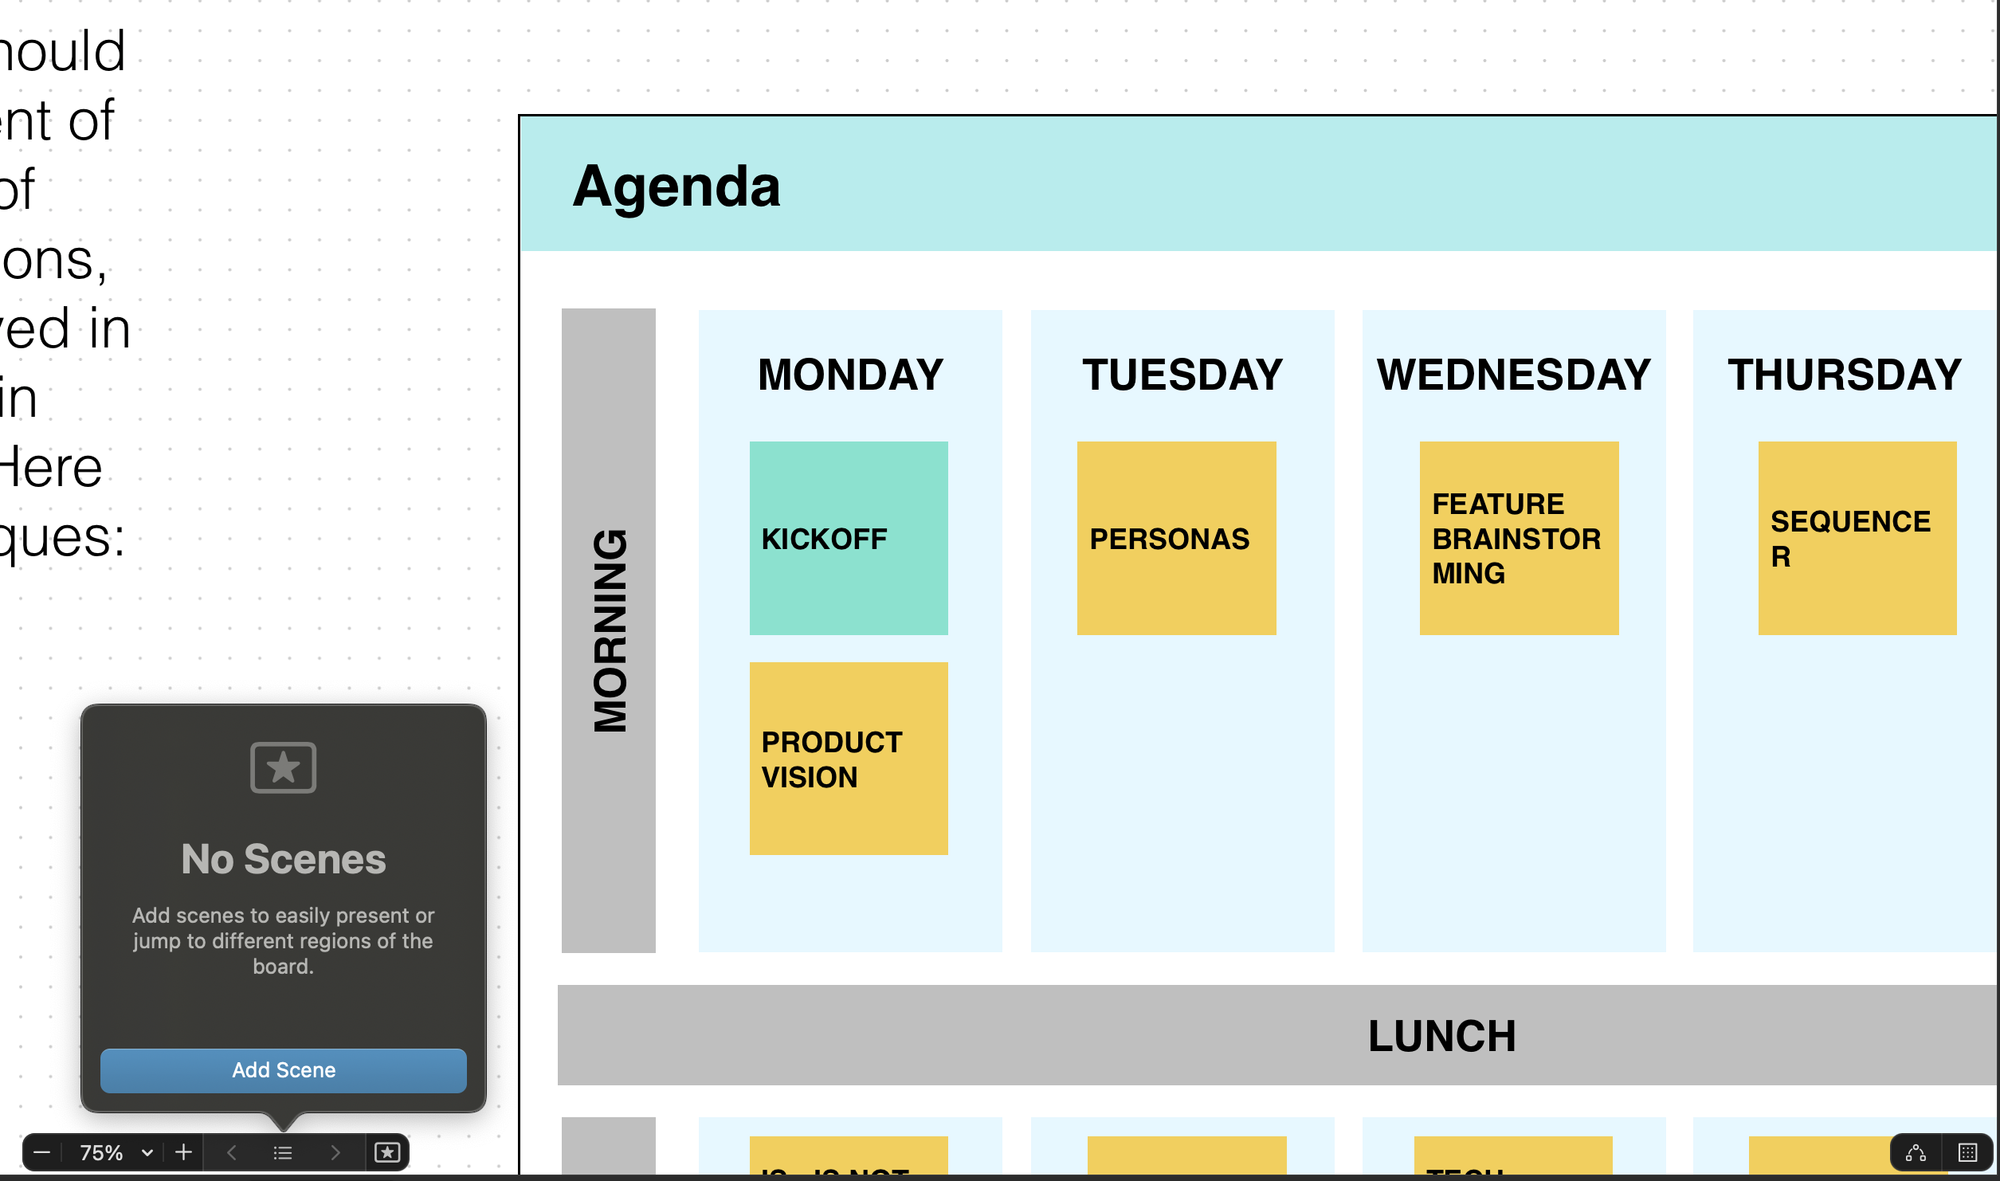
1. Use the Outline View
Freeform’s Outline feature (available on iPadOS 17/macOS Ventura and later) acts like a table of contents for your board.
- Tap the Outline button (top-left) to see a list of objects grouped by type (text, images, links, etc.).
- Click any item to jump directly to its location on the board.
- Pro Tip: Name key sections using large text headers to make the Outline more scannable.
2. Zoom and Pan Smoothly
- Pinch to zoom on iPad/iPhone or use ⌘ + scroll on Mac to focus on details.
- Drag with two fingers (trackpad) or hold the spacebar + drag (mouse) to pan across the board.
- Double-tap/click the Hand Tool (toolbar) to temporarily switch to panning mode.
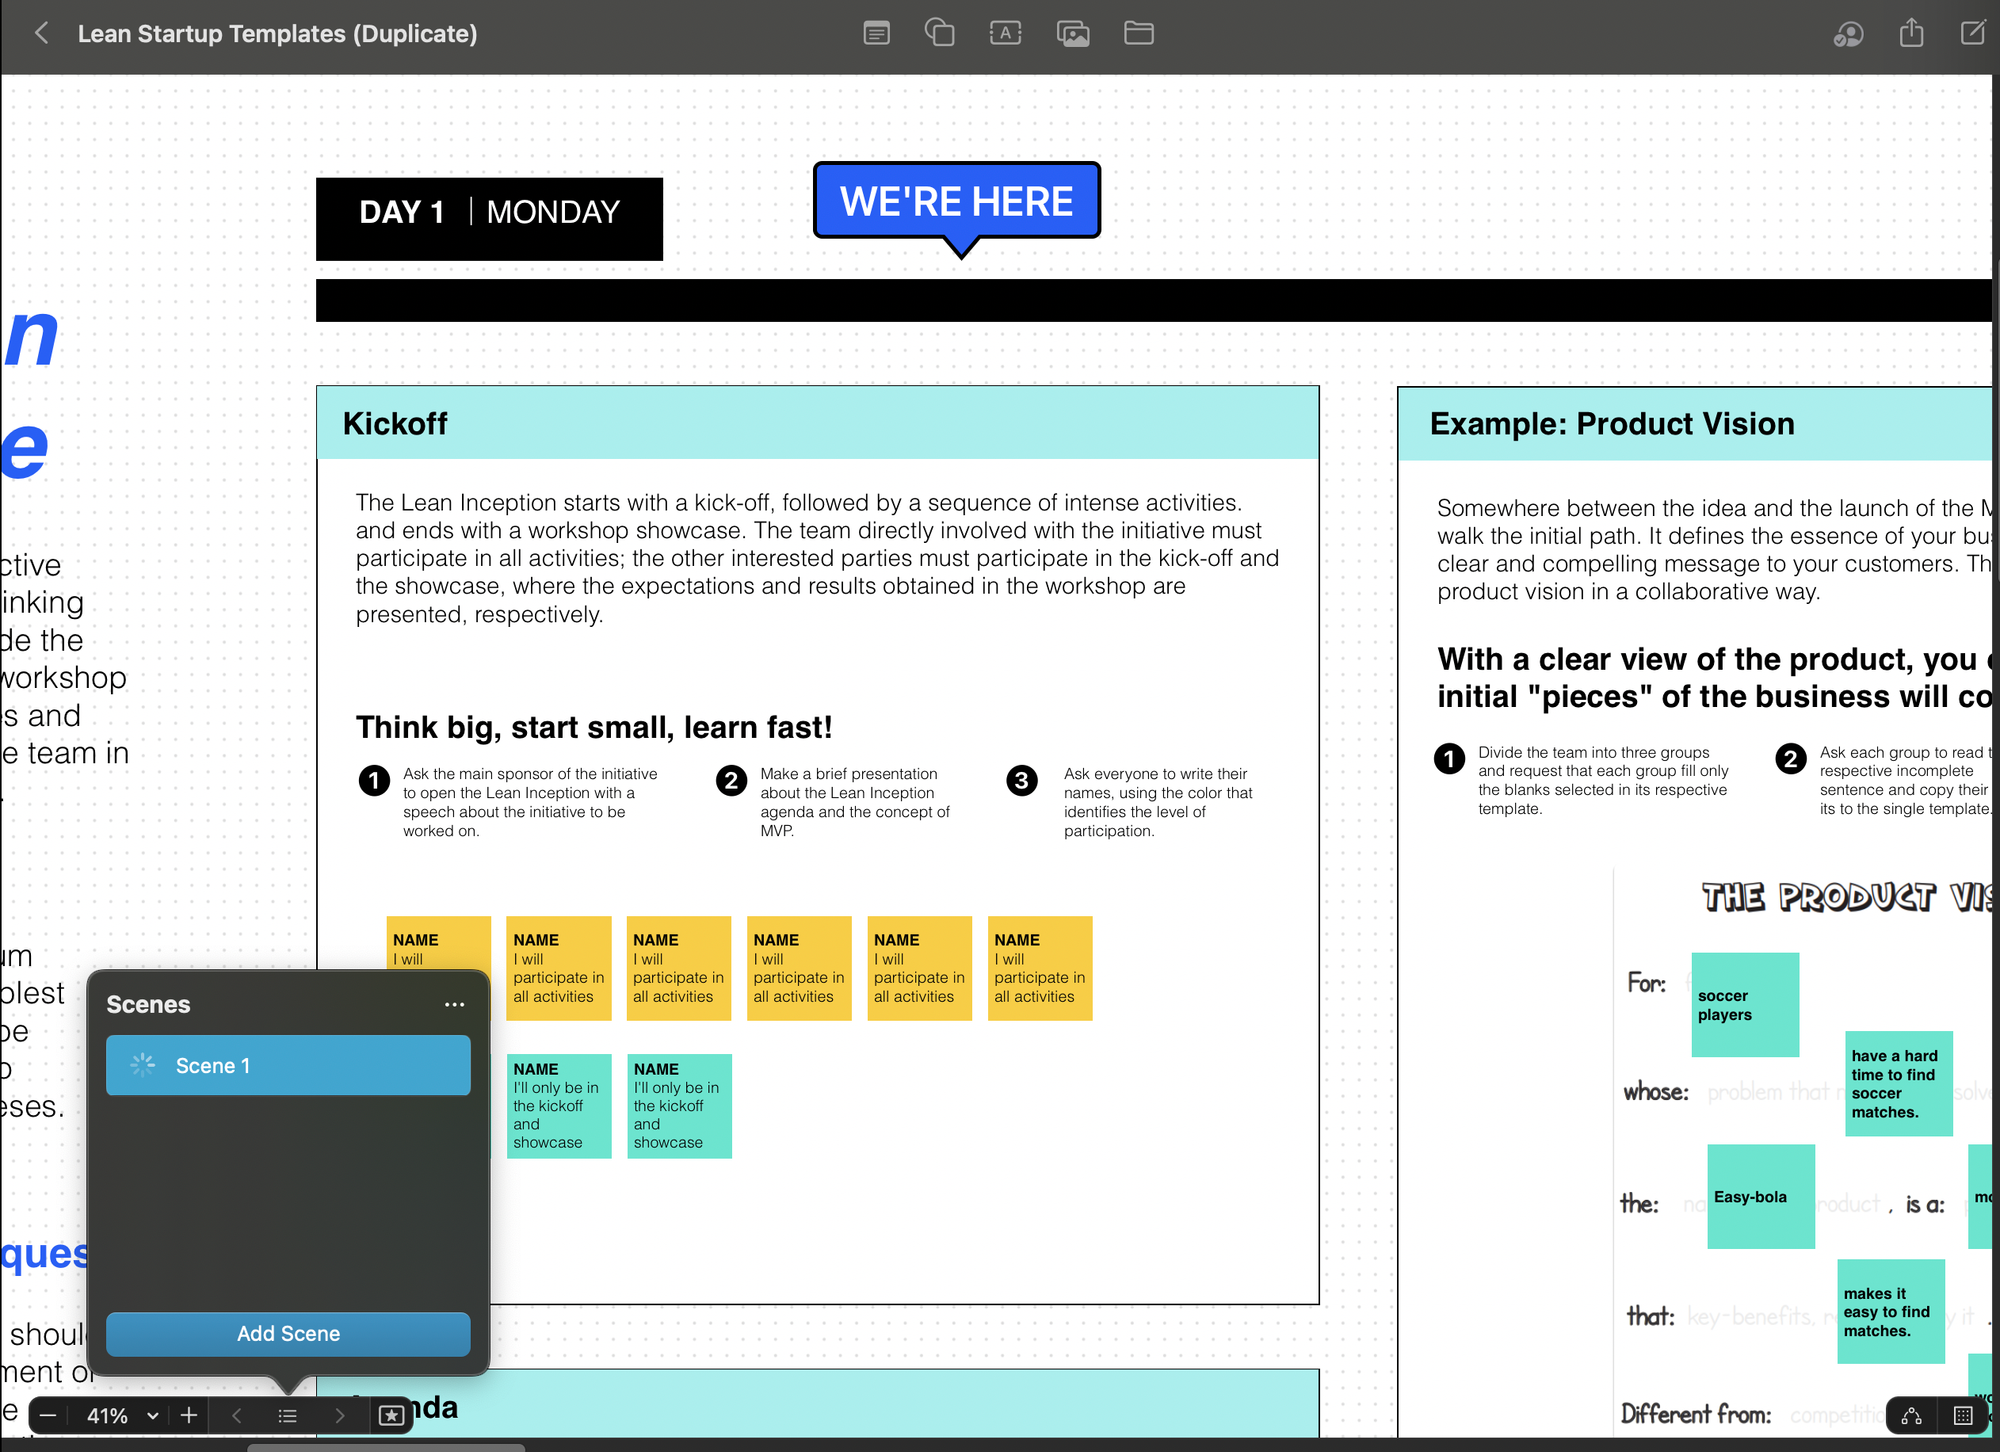
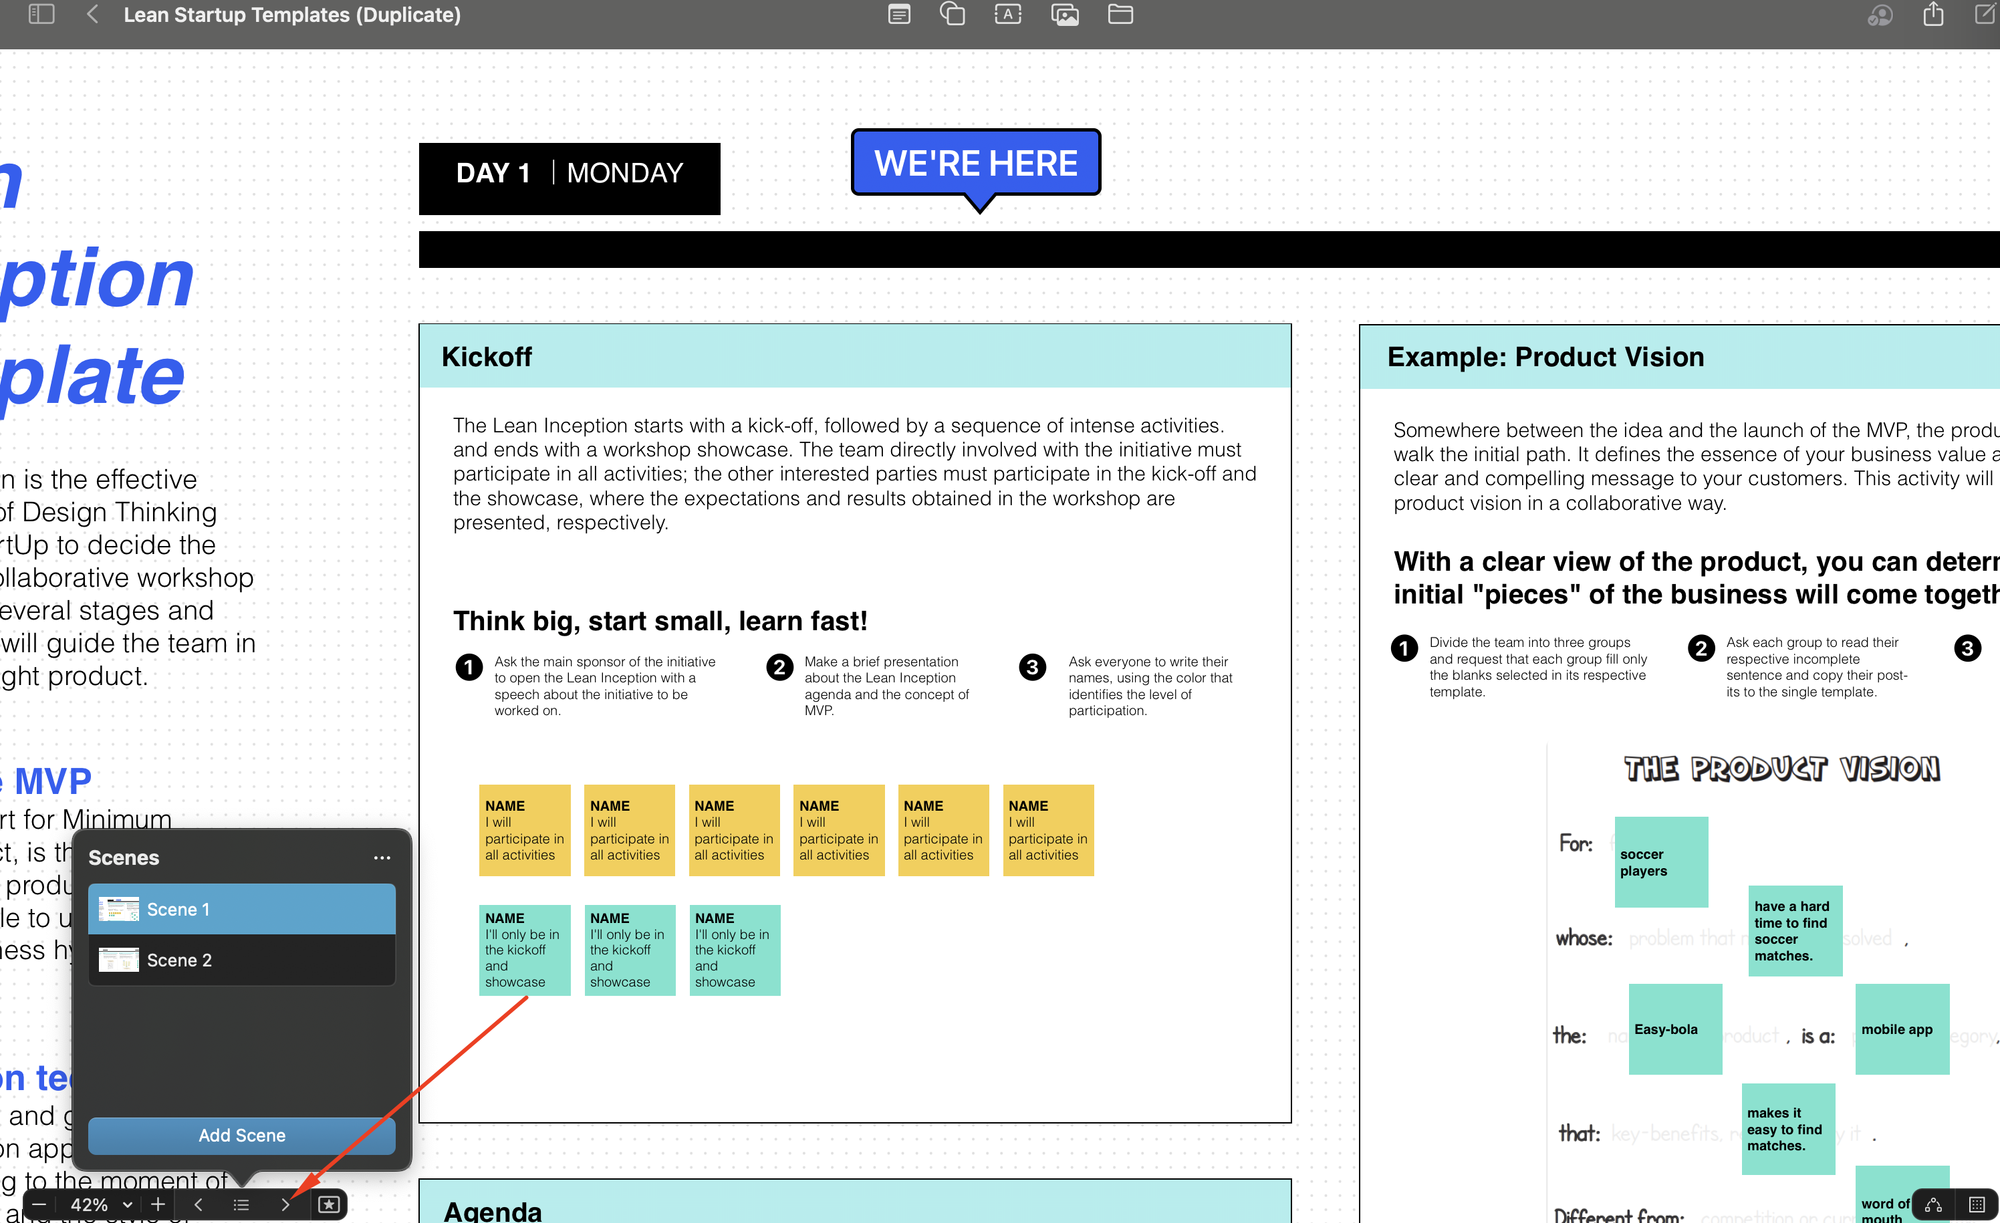
3. Group Objects into Scenes
Keep related items together to create distinct "scenes":
- Select multiple objects (lasso tool or Shift+click).
- Choose Group from the menu to bind them.
- Collapse/expand groups via the Outline for clutter-free navigation.
4. Link Between Scenes
Create interactive workflows:
- Highlight text or an object > Tap Link > Choose another section or even a different Freeform board.
- Use arrows or connectors to visually map relationships between scenes.
Part 2: Presenting Your Freeform Board
Turn your board into a dynamic presentation without switching apps.
1. Enter Full-Screen Mode
- Click the Full Screen button (top-right) to hide distractions.
- On iPad/iPhone, rotate to landscape for a larger view.
2. Guide Your Audience with Focus
- Zoom In on key sections while presenting to direct attention.
- Use the Laser Pointer (right-click or toolbar) to highlight specific elements.
3. Create Slide-Like Transitions
While Freeform isn’t a slide deck, you can simulate transitions:
- Pre-arrange scenes in a linear flow (left to right or top to bottom).
- Smoothly pan/zoom between sections during your narrative.
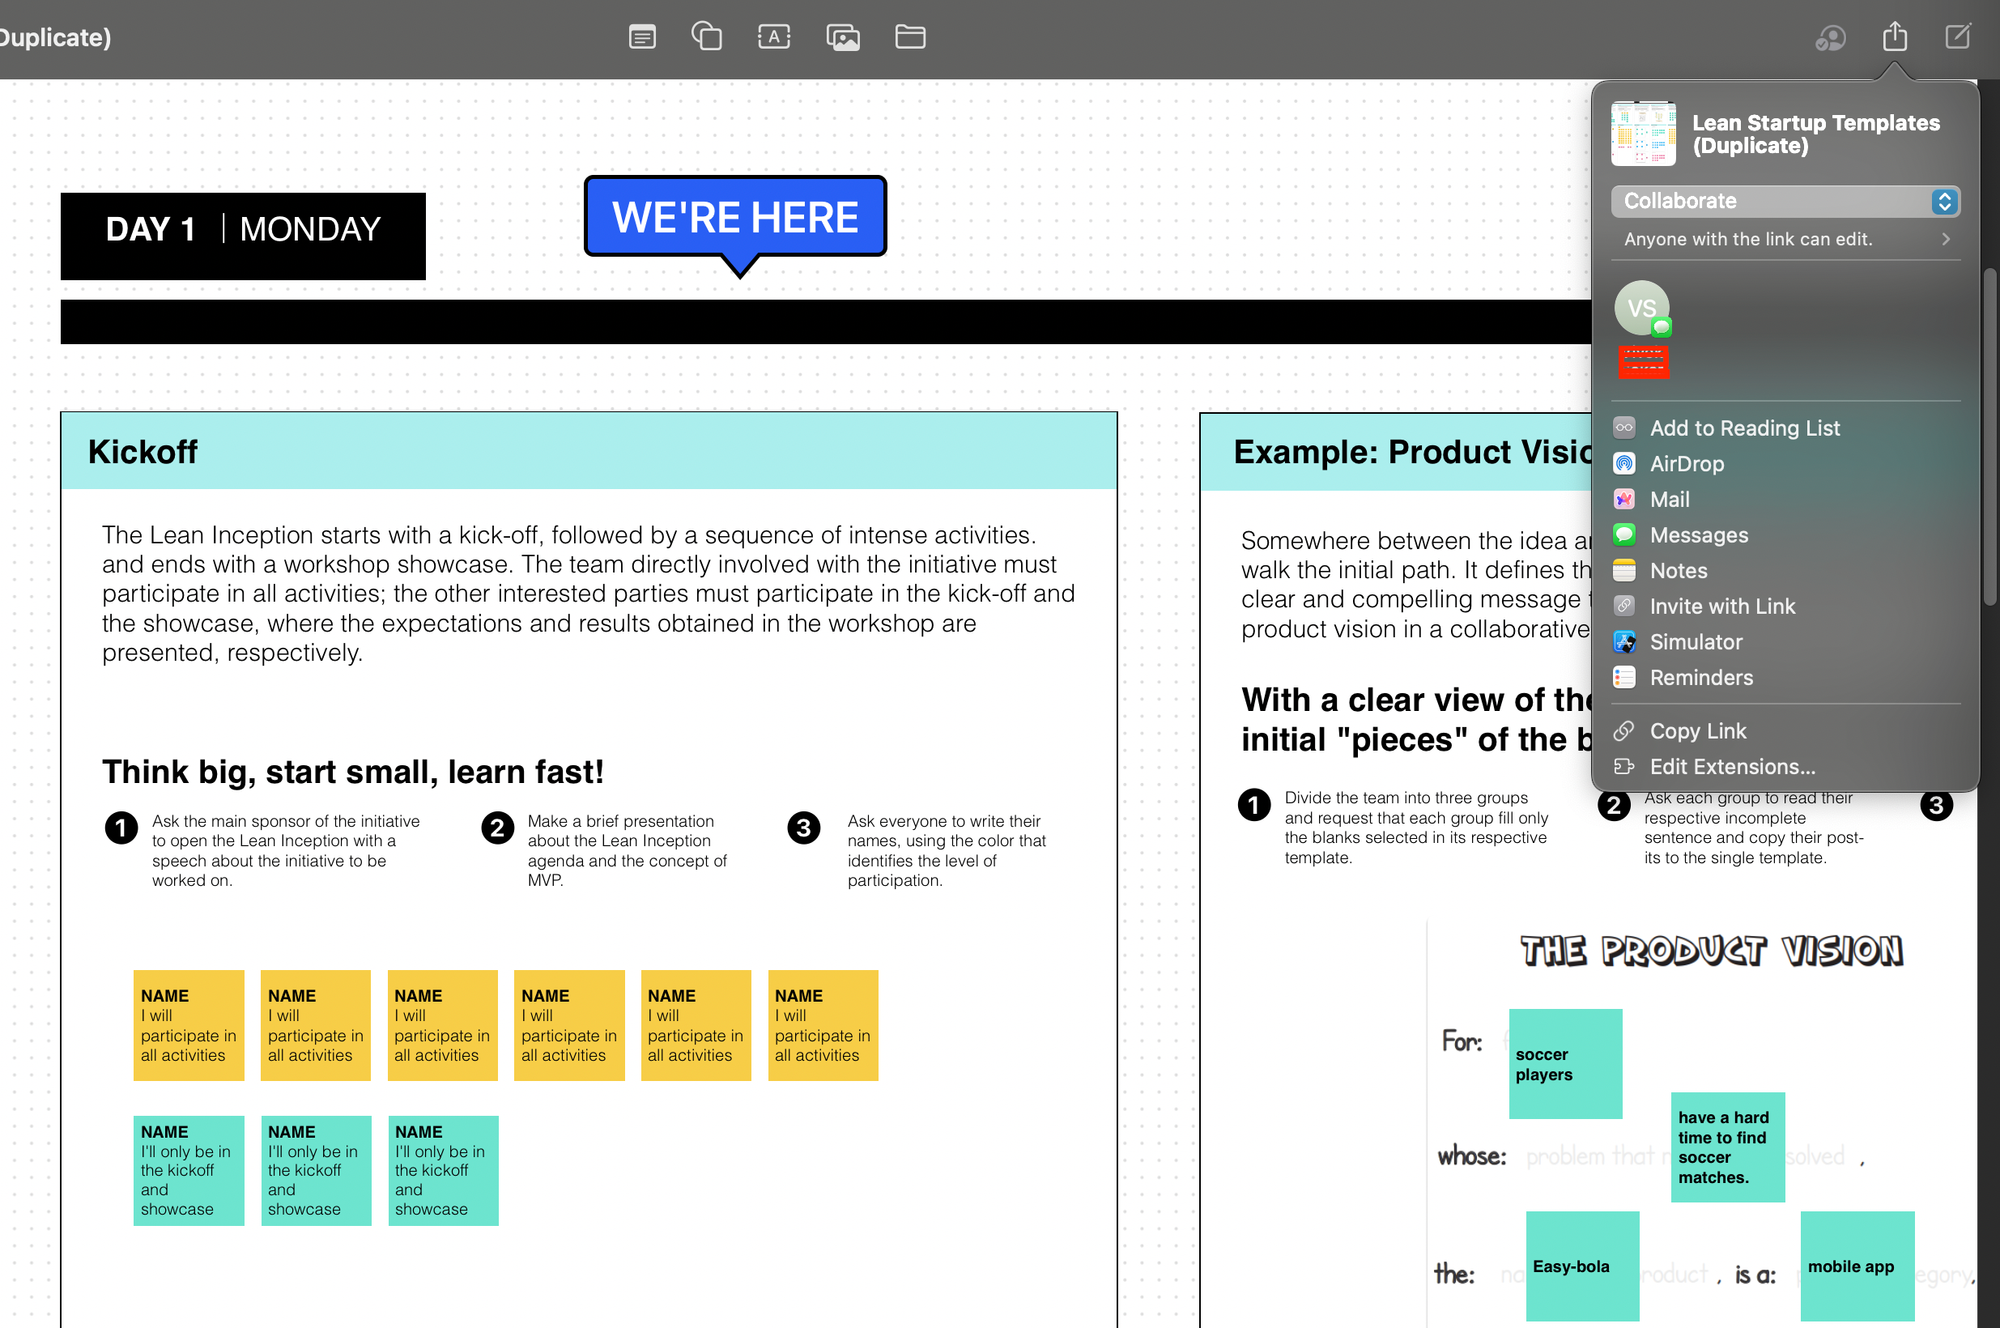
4. Collaborate in Real-Time
Invite stakeholders to view or edit your board during presentations:
- Tap Share > Collaborate to generate a link.
- Use FaceTime or SharePlay to discuss changes live.
5. Export for Offline Sharing
- Export the entire board as a PDF (File > Export) for email-friendly sharing.
- Save specific scenes as images by cropping and using Export > Image.
Conclusion
Mastering navigation and presentation in Freeform turns chaotic boards into compelling stories. Whether you’re pitching a project, organizing a team sprint, or teaching a class, these techniques will help you stay in control and impress your audience.
Pro Tip: Pair Freeform with Apple Pencil on iPad for handwritten annotations that add a personal touch to your scenes!
Ready to elevate your Freeform game? Start grouping, linking, and presenting today! 🚀
Call to Action
Liked this guide? Share your favorite Freeform tips in the comments or tag us on social media with your creative boards!


